Dynamic Place Holder
- Add a textbox with the required text tot he slide
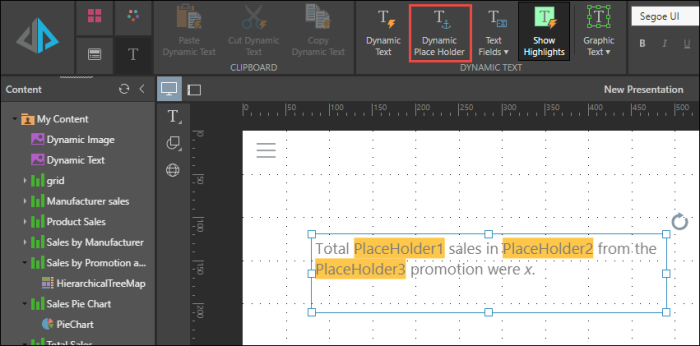
- From the text ribbon, use the Dynamic Place Holder button to add dynamic place holder(s) to the text
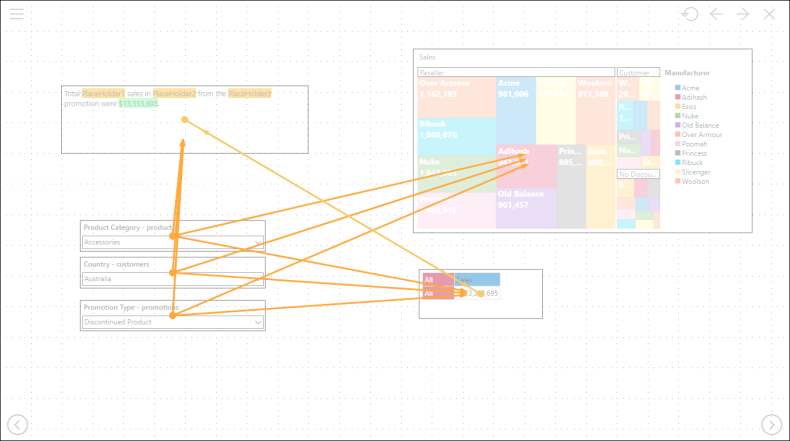
- Use the Interaction Manager to configure the data interaction(s) between the slicer(s) and the text
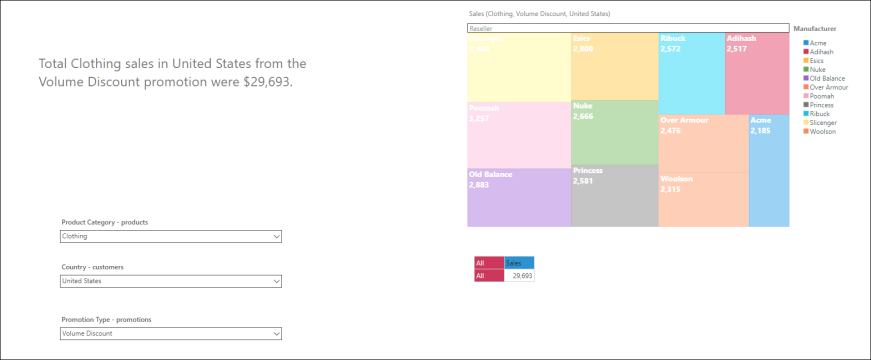
- When the presentation is launched in runtime, the dynamic placeholders will change dynamically according to the slicer selections
Walkthrough: Add Dynamic Place Holders
STEP 1
Add a textbox to the canvas, and write your text in it.

STEP 2
Add a dynamic place holder to the parts of the text that should be dynamic.
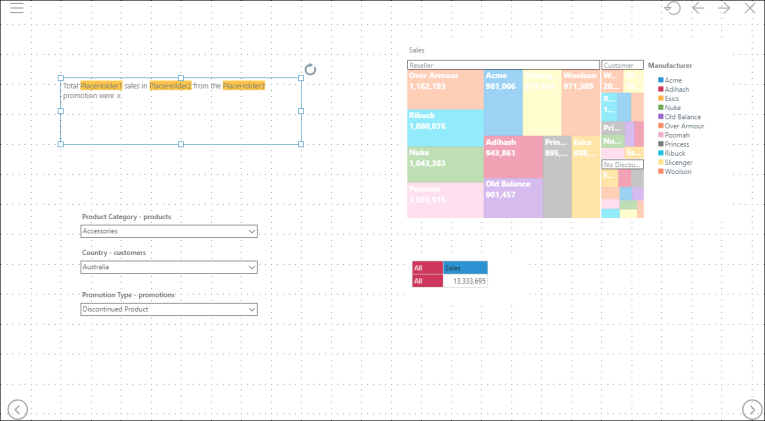
In this example, the dynamic text will explain the sales in dollars according to the product category, country, and promotion specified in the slicers.

STEP 3
Add the required slicers to the canvas either from the content tree, or by accessing the New Slicer wizard from the Home ribbon.

STEP 4
Open the Interaction Manager to add interactions from the slicer(s) to the dynamic place holder(s).

STEP 5
Add interactions between the slicers and the other visuals if required, and add any other dynamic text that's required.

STEP 6
Preview the presentation to test the dynamic text.
